The Layout System
The StreamDeckLayout view is a fundamental component for building layouts for Stream Deck devices using SwiftUI. It provides a way to define the key area view with its keys and window view with its dials for a Stream Deck layout. This layout can be used to draw a customized layout onto a Stream Deck device and to recognize Stream Deck interactions in the SwiftUI way.
A StreamDeckLayout combined with the @StreamDeckView Macro does the heavy lifting for you by automatically recognizing view updates, and triggering an update of the rendered image on your Stream Deck device.
The general structure of StreamDeckLayout is as follows:
StreamDeckLayout
├── keyArea: StreamDeckKeyAreaLayout
│   └── StreamDeckKeyView
└── windowArea:
    ├── StreamDeckDialAreaLayout
    │   └── StreamDeckDialView
    └── StreamDeckNeoPanelLayout
The window area is only available for the Stream Deck + and Stream Deck Neo, and will be ignored for other device types. For the Stream Deck Neo, the window area corresponds to the info panel only, excluding the touch buttons.
Usage
To use StreamDeckLayout, create an instance of it by specifying the key area and window views. Then, provide this instance to the StreamDeck.render method.
Example
Here's an example of how to create a basic static StreamDeckLayout. For examples on how to create a stateful and an animated layout, see Handling state changes and Basic animations, respectively.
import SwiftUI
import StreamDeckKit

@StreamDeckView
struct StatelessStreamDeckLayout {
    var streamDeckBody: some View {
        StreamDeckLayout {
            // Define key area
            // Use StreamDeckKeyAreaLayout for rendering separate keys
            StreamDeckKeyAreaLayout { keyIndex in
                // Define content for each key.
                // StreamDeckKeyAreaLayout provides an index for each available key,
                // and StreamDeckKeyView provides a callback for the key action
                // Example:
                StreamDeckKeyView { pressed in
                    print("pressed \(pressed)")
                } content: {
                    Text("\(keyIndex)")
                        .frame(maxWidth: .infinity, maxHeight: .infinity)
                        .background(.teal)
                }
            }.background(.purple)
        } windowArea: {
            // Define window area
            if streamDeck.info.product == .plus {
                // Use StreamDeckDialAreaLayout for Stream Deck +
                StreamDeckDialAreaLayout { dialIndex in
                    // Define content for each dial
                    // StreamDeckDialAreaLayout provides an index for each available dial,
                    // and StreamDeckDialView provides callbacks for the dial actions
                    // Example:
                    StreamDeckDialView { rotations in
                        print("dial rotated \(rotations)")
                    } press: { pressed in
                        print("pressed \(pressed)")
                    } touch: { location in
                        print("touched at \(location)")
                    } content: {
                        Text("\(dialIndex)")
                            .frame(maxWidth: .infinity, maxHeight: .infinity)
                            .background(Color(white: Double(dialIndex) / 5 + 0.5))
                    }
                }
            } else if streamDeck.info.product == .neo {
                // Use StreamDeckNeoPanelLayout for Stream Deck Neo
                StreamDeckNeoPanelLayout { touched in
                    print("left key touched \(touched)")
                } rightTouch: { touched in
                    print("right key touched \(touched)")
                } panel: {
                    Text("Info Panel")
                }
                .background(.yellow)
            }
        }.background(.indigo)
    }
}
Depending on the device, the outcome will look like this:
| Mini | 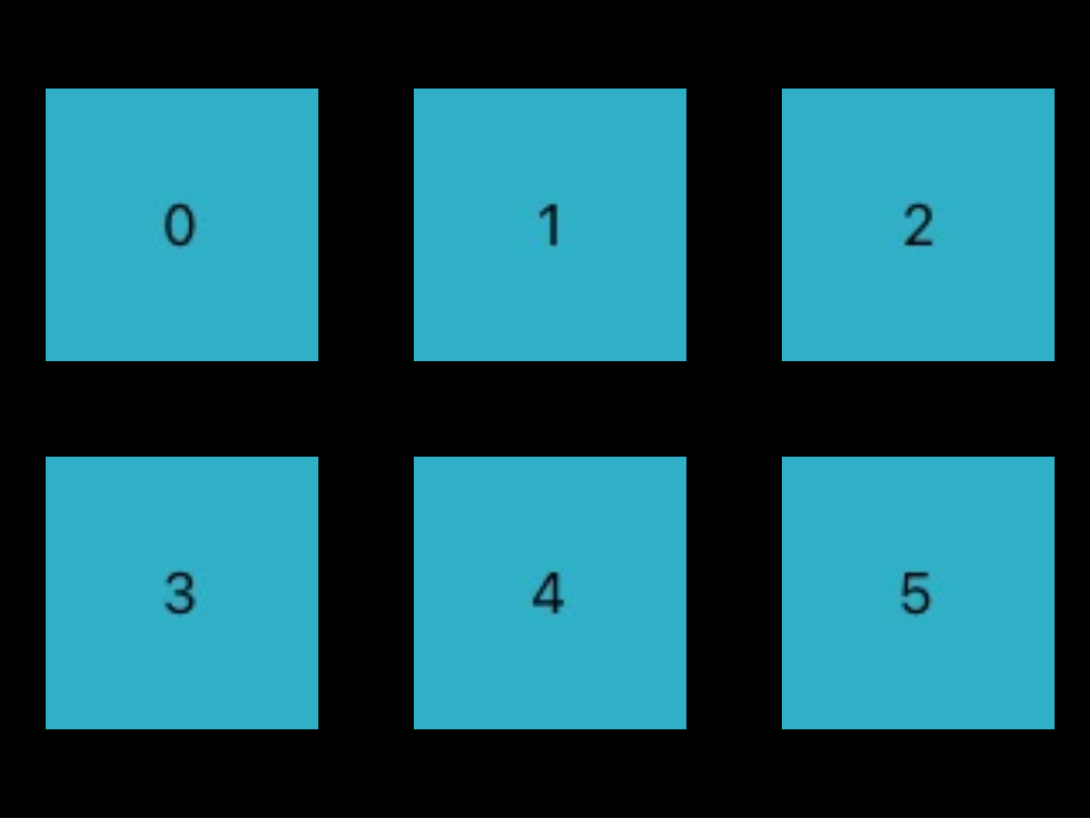 Note: On the Stream Deck Mini device, you can not set a complete screen image. However, the purple background on the key area would be visible if the keys had transparent areas. | 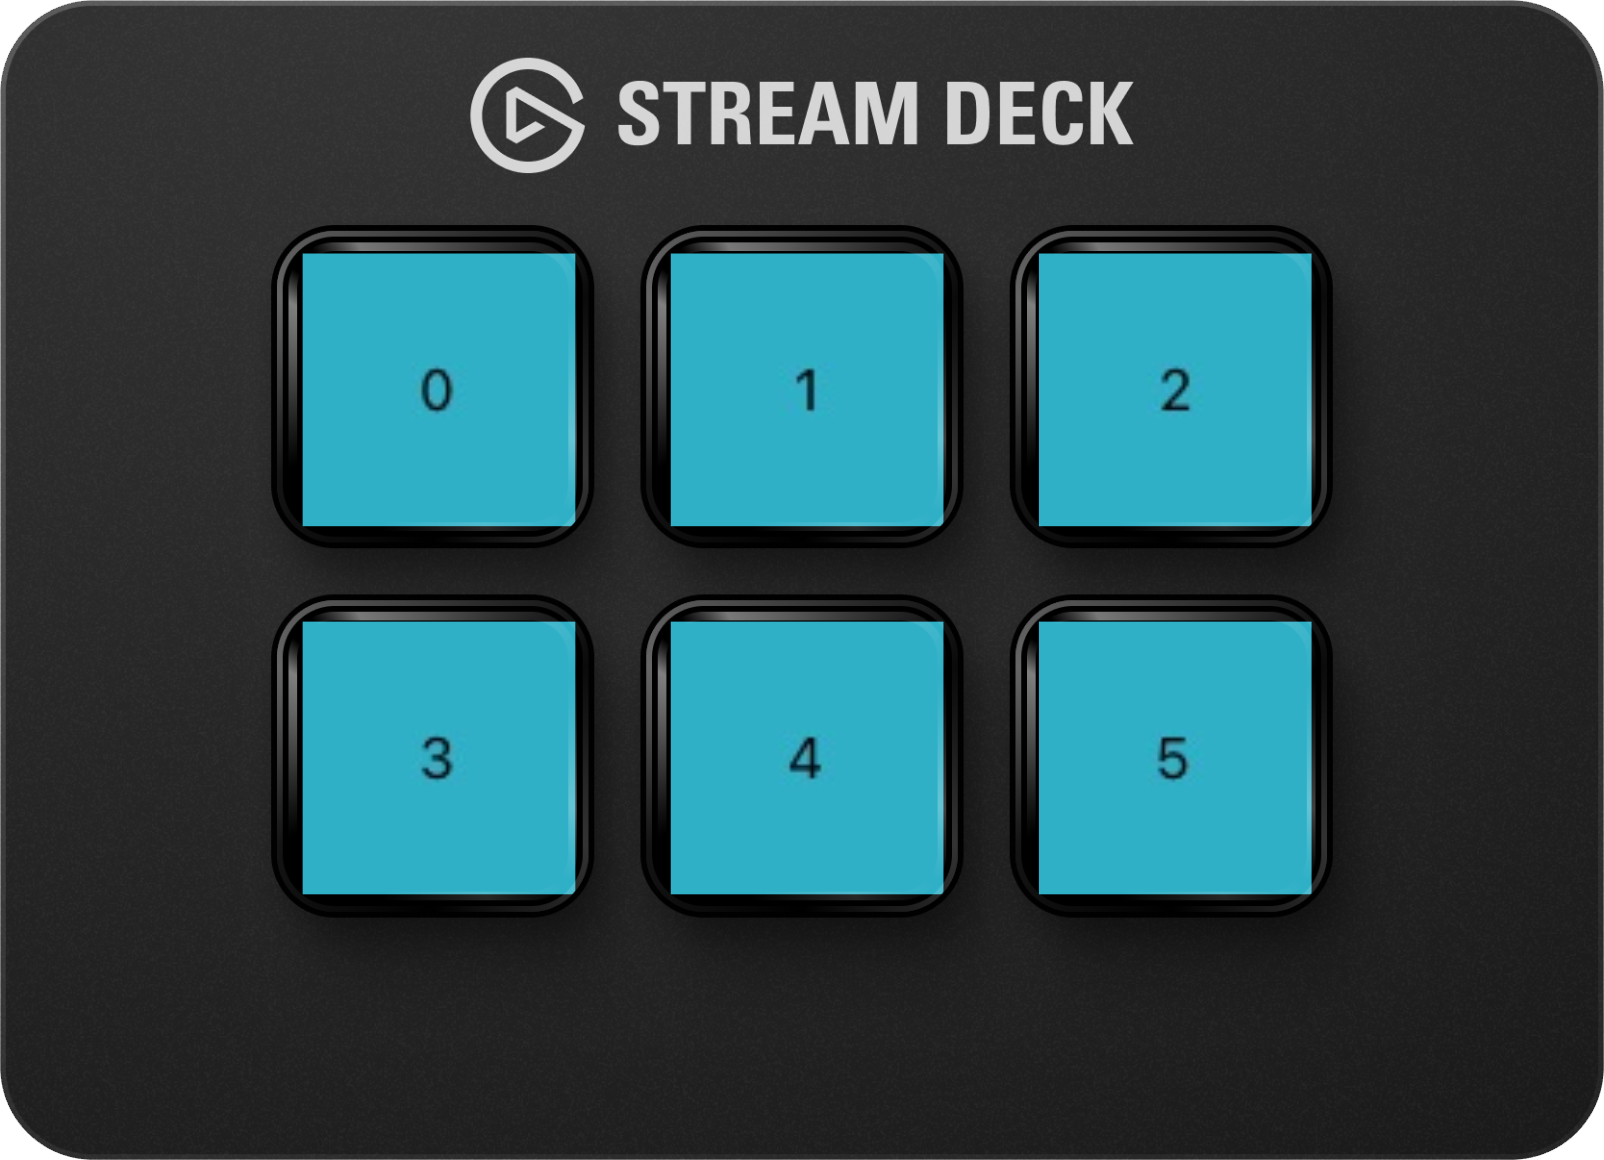 |
| Classic | 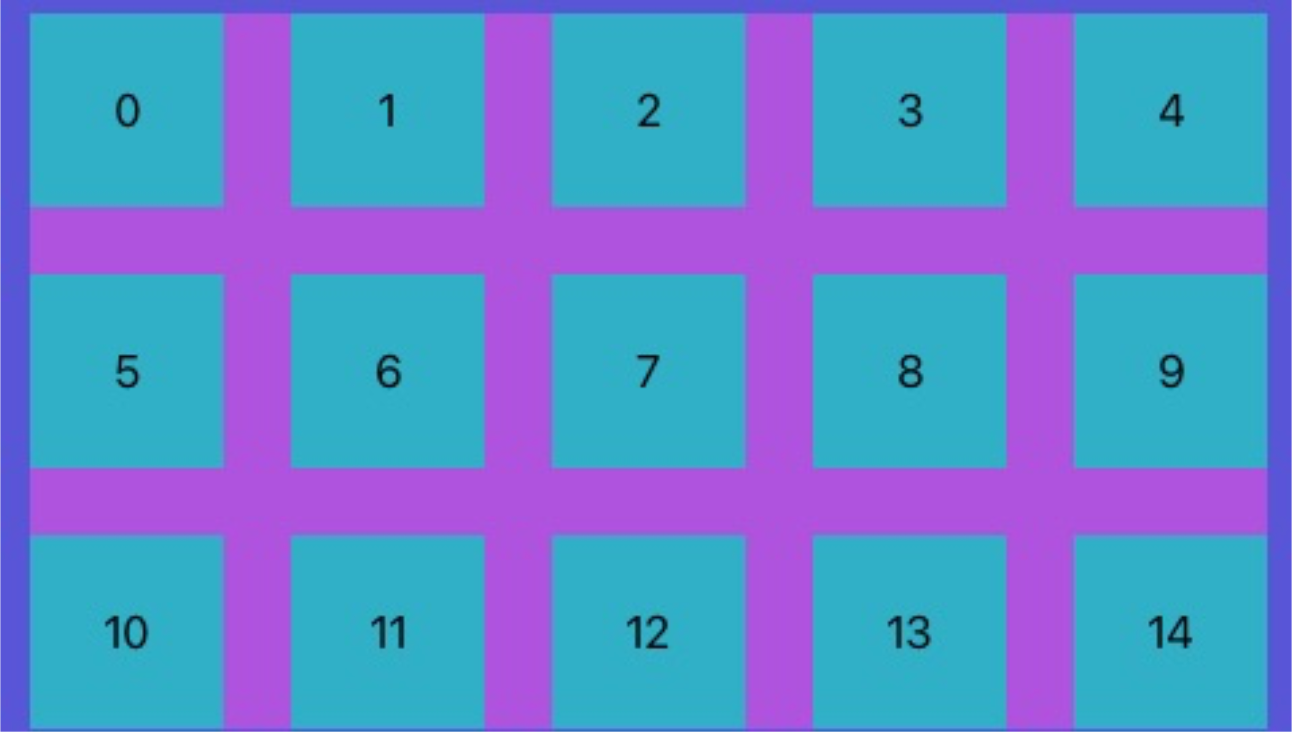 | 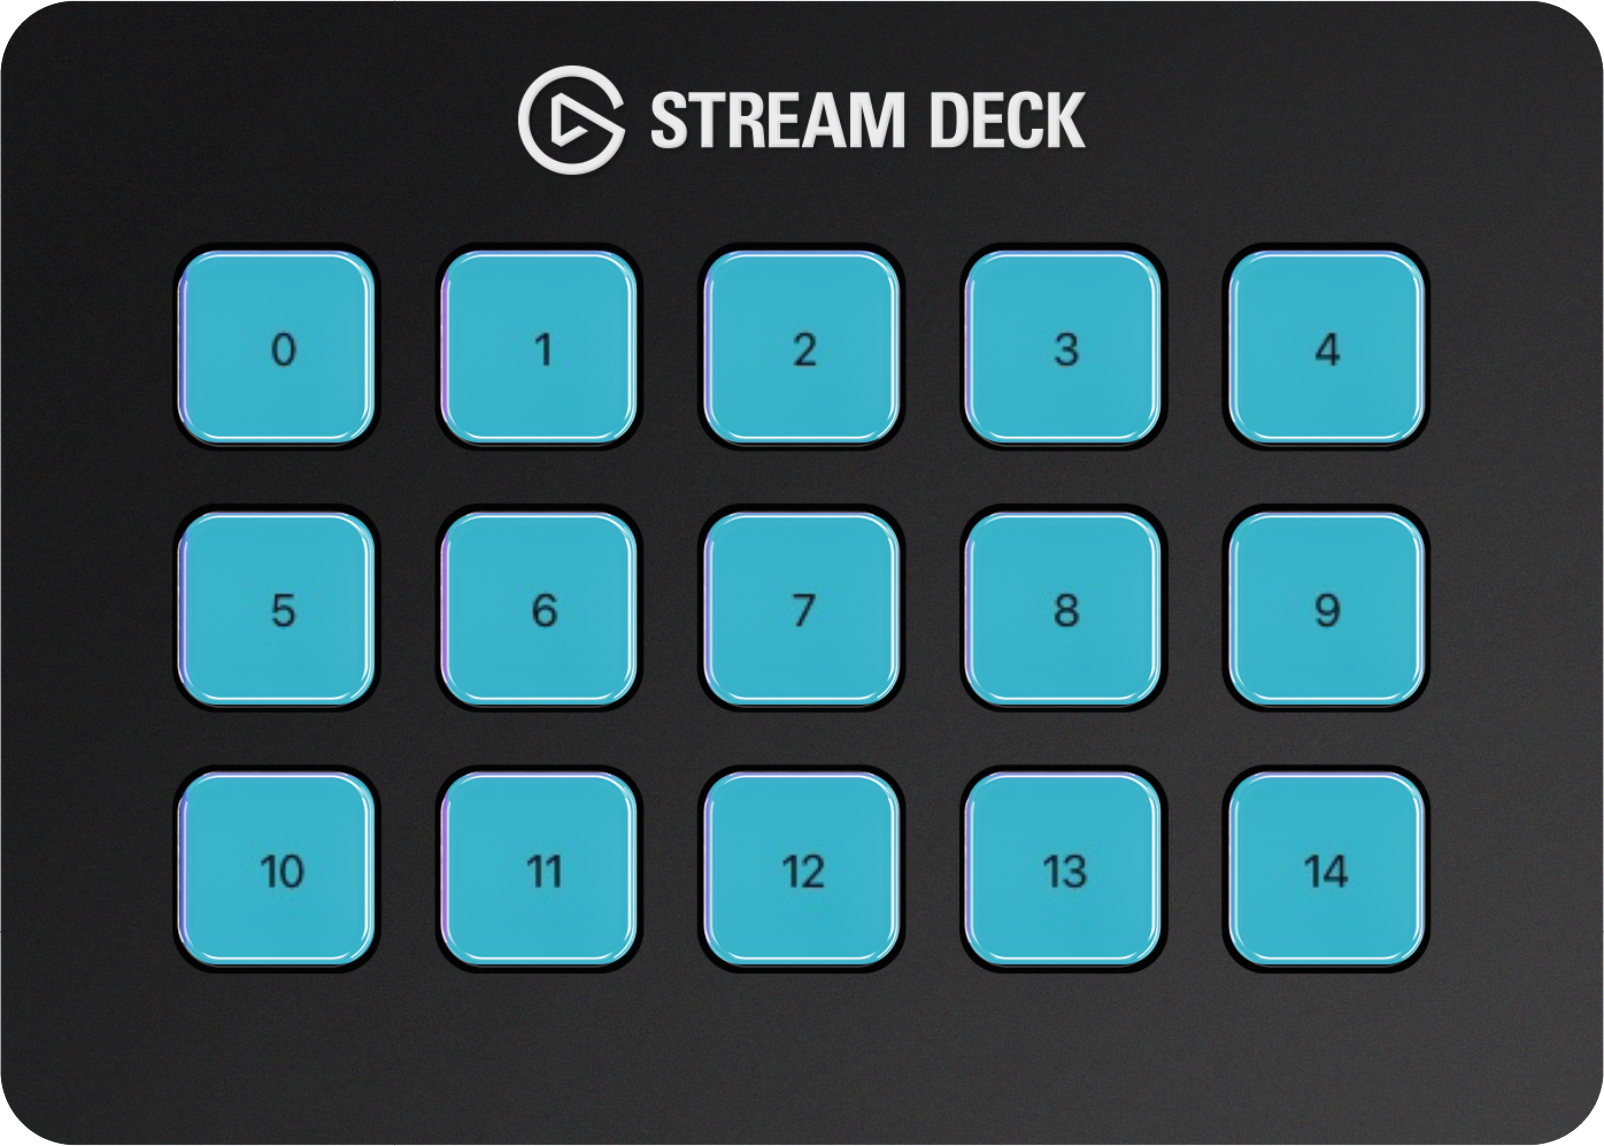 |
| XL | 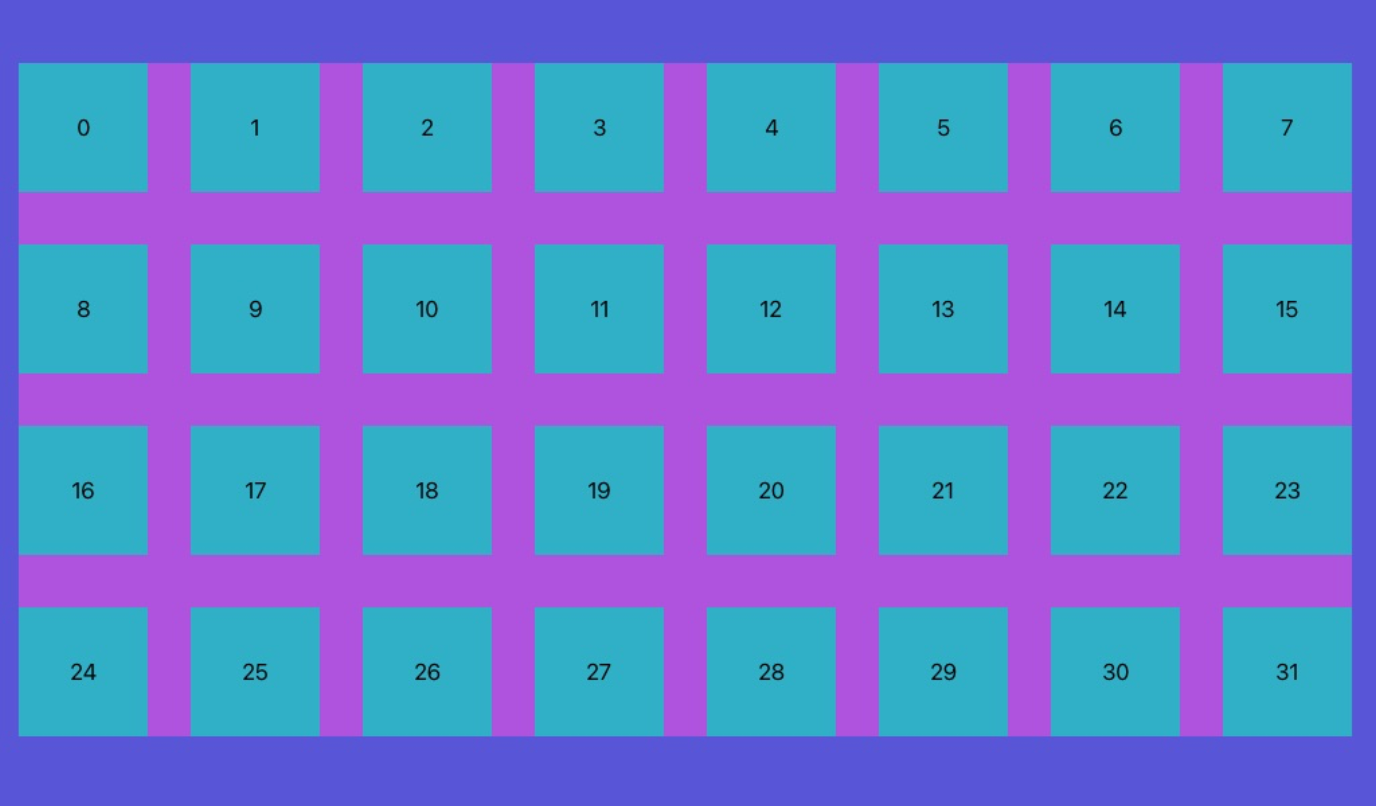 | 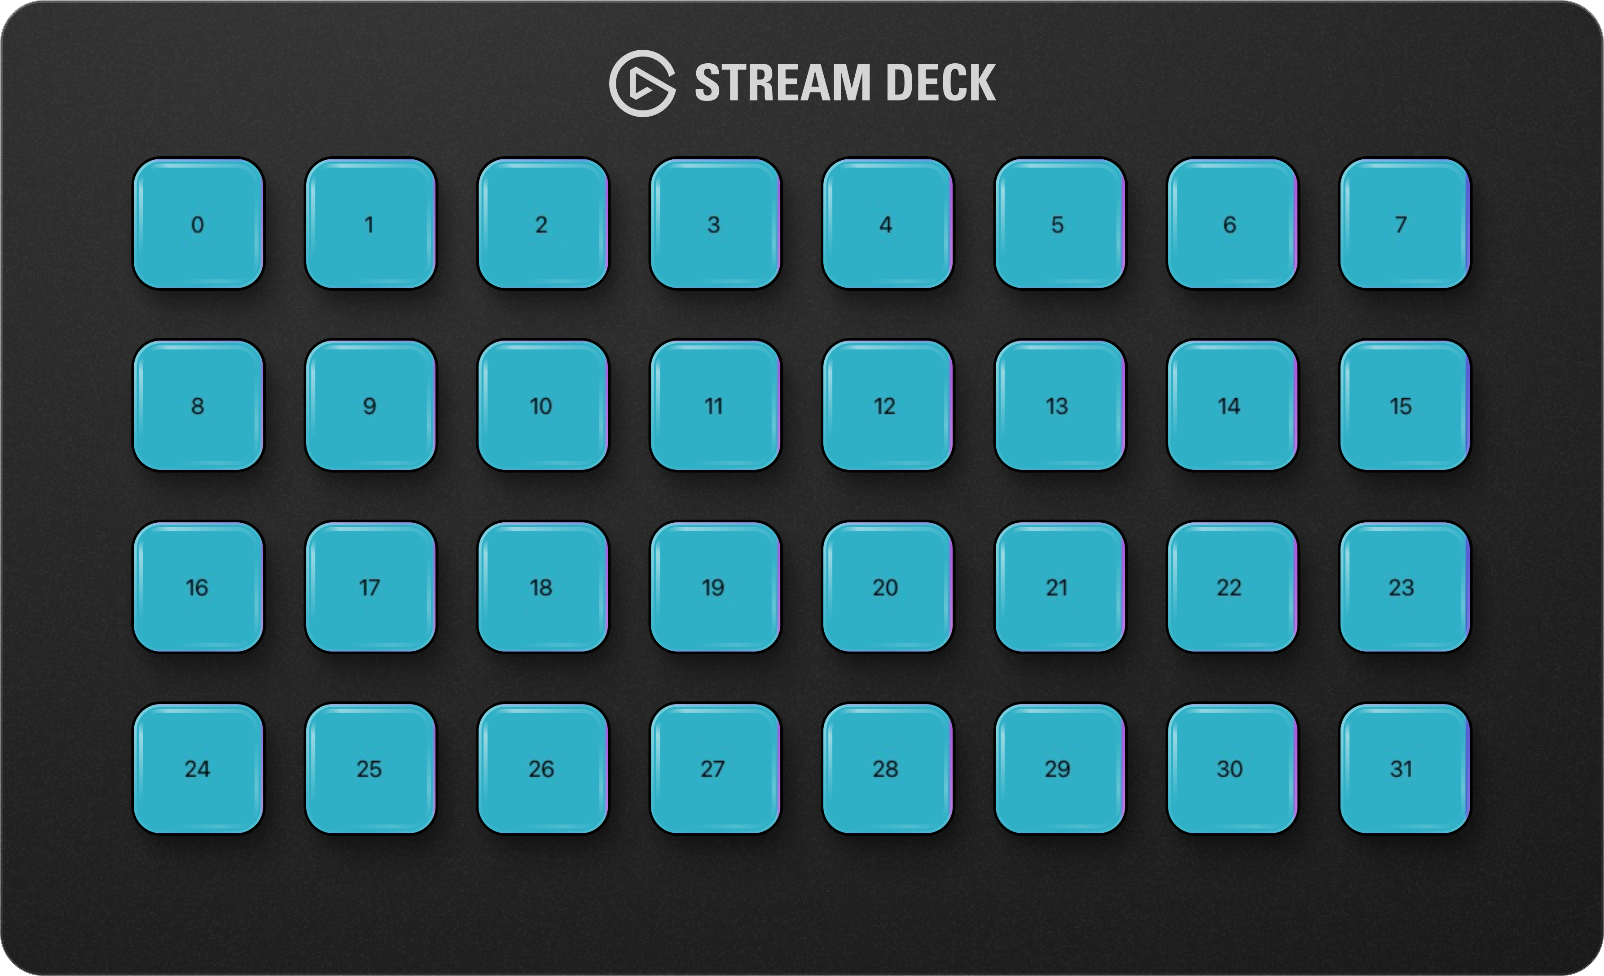 |
| Plus | 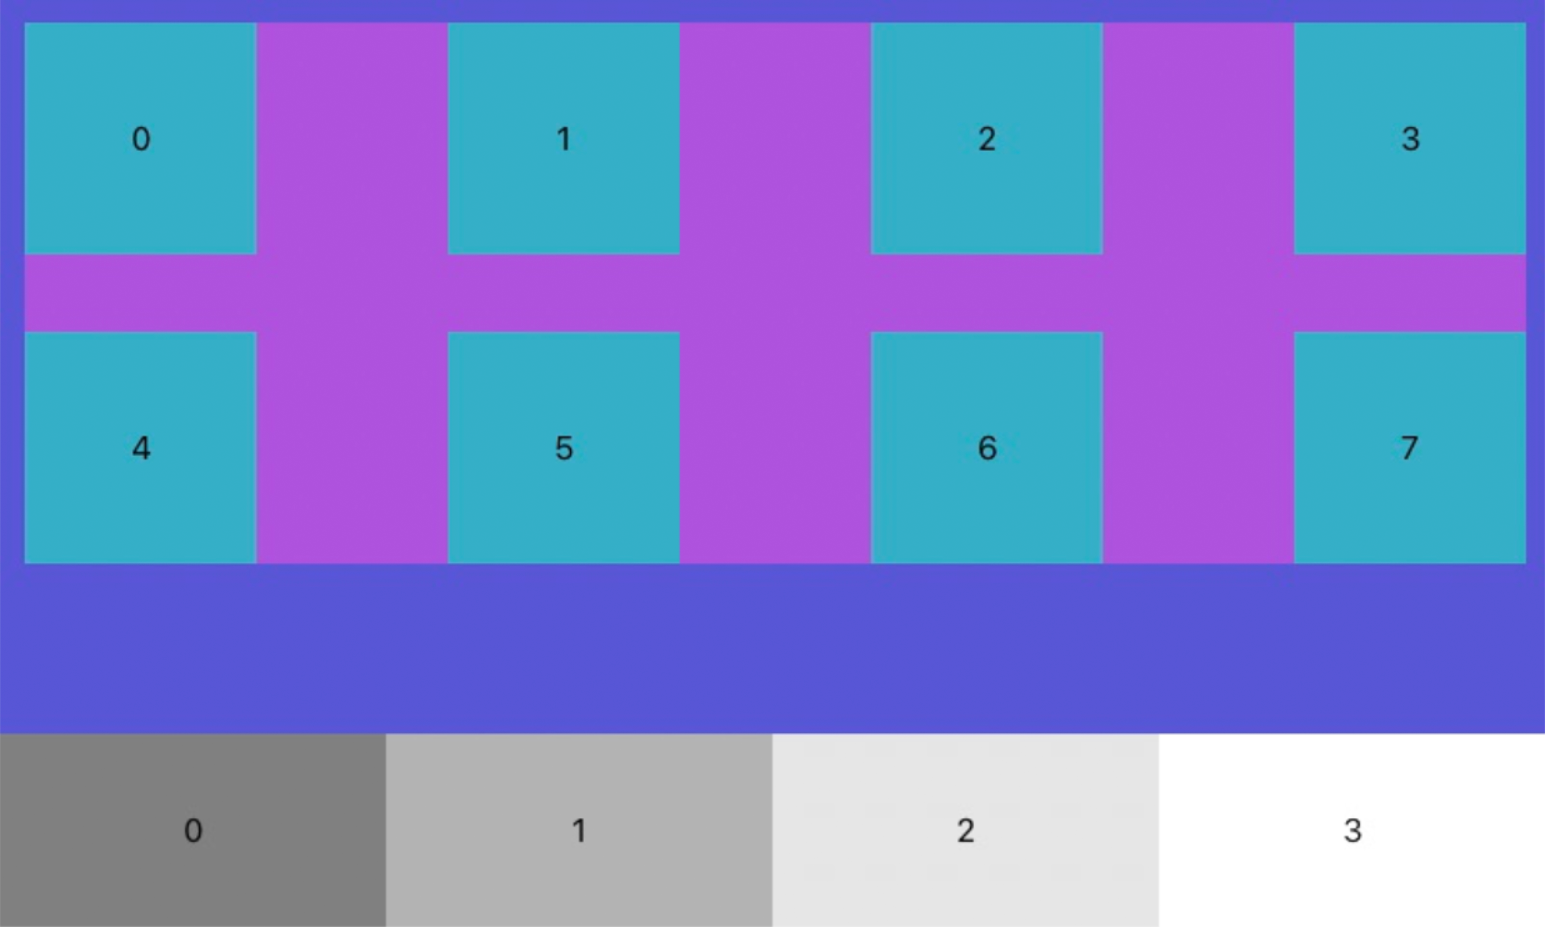 | 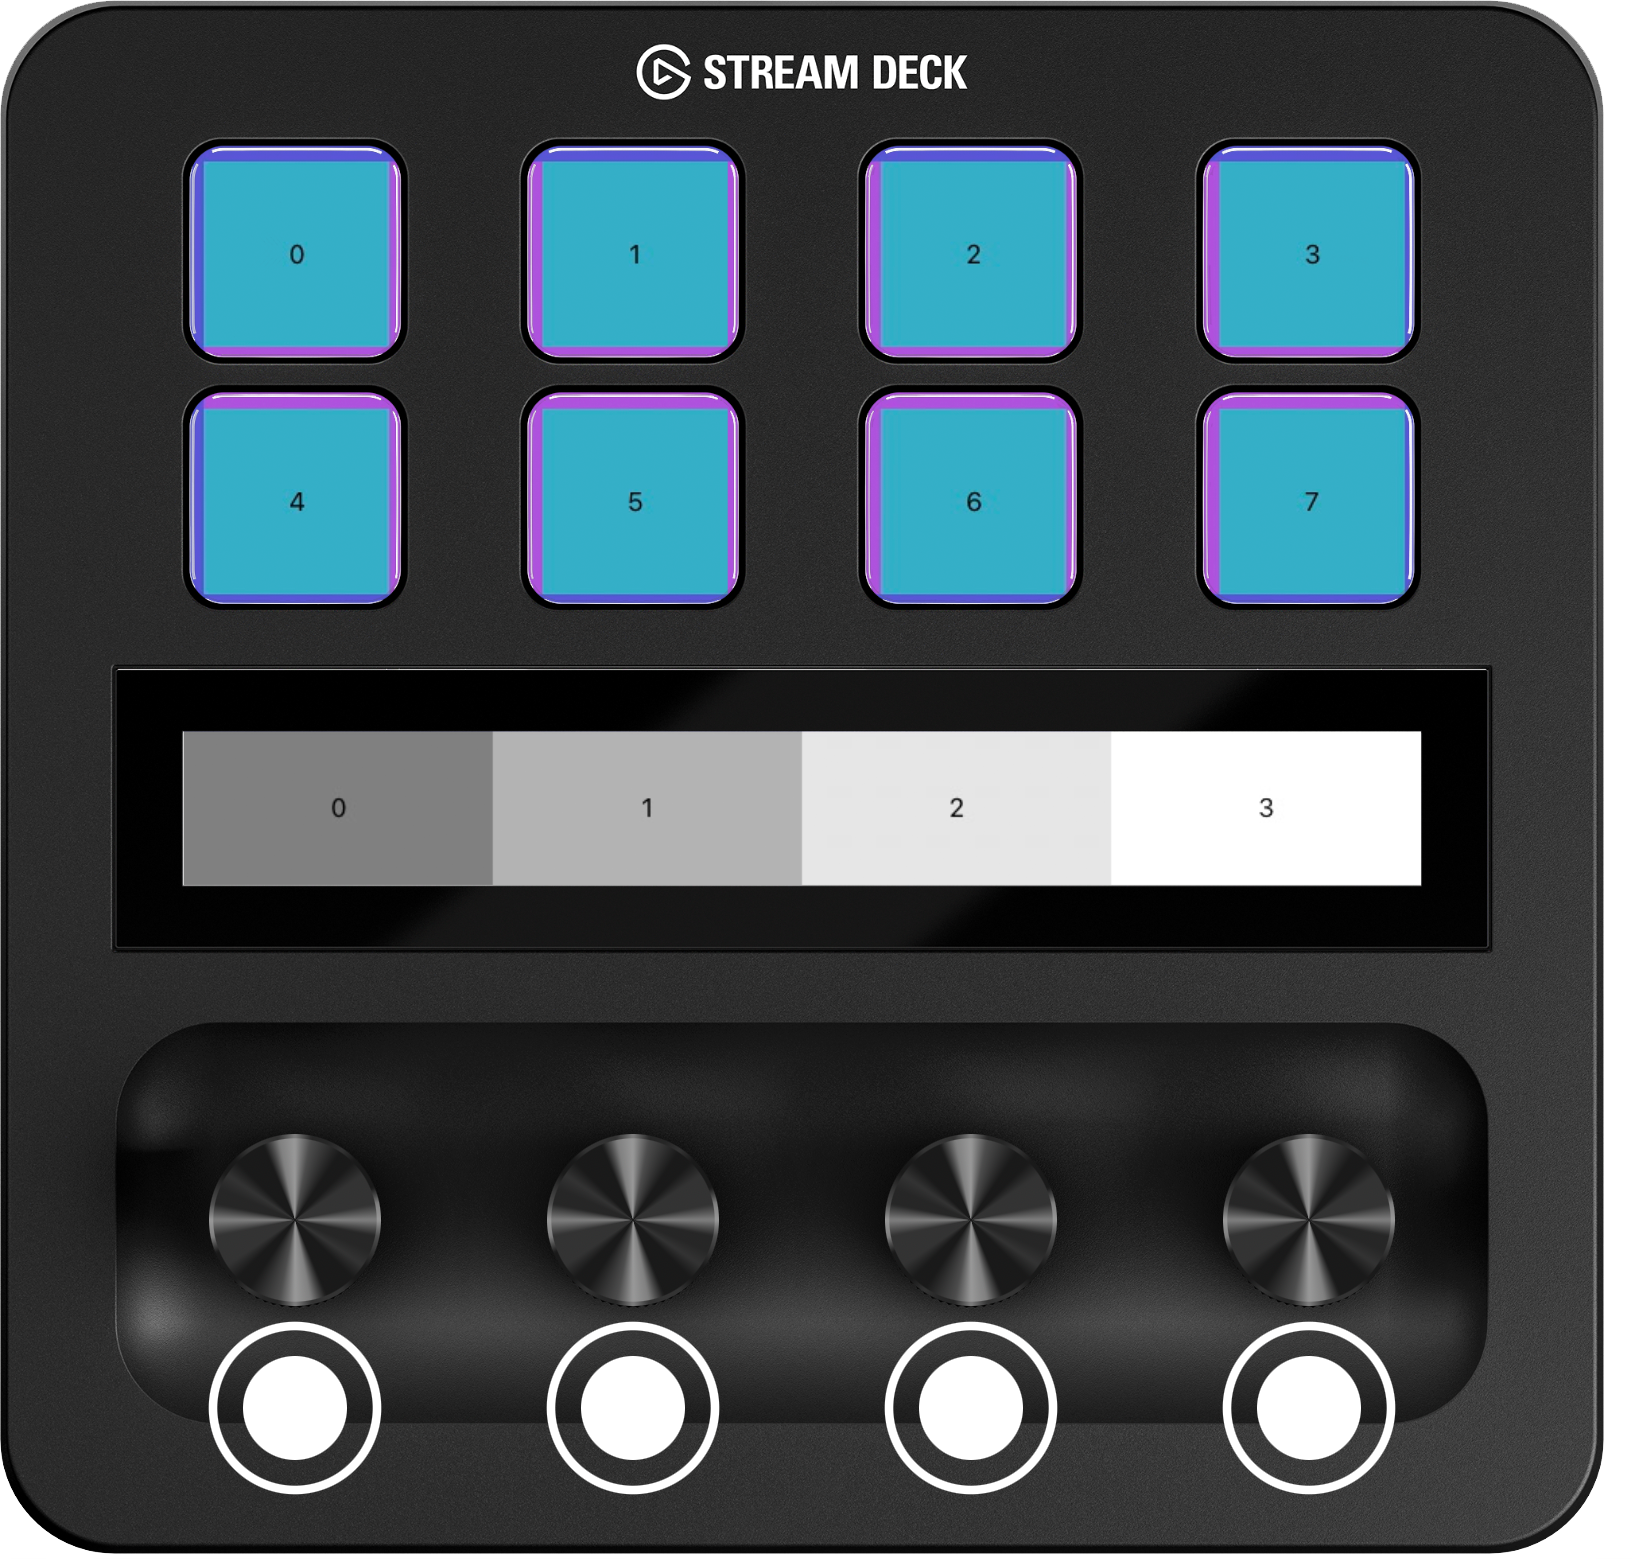 |
| Neo | 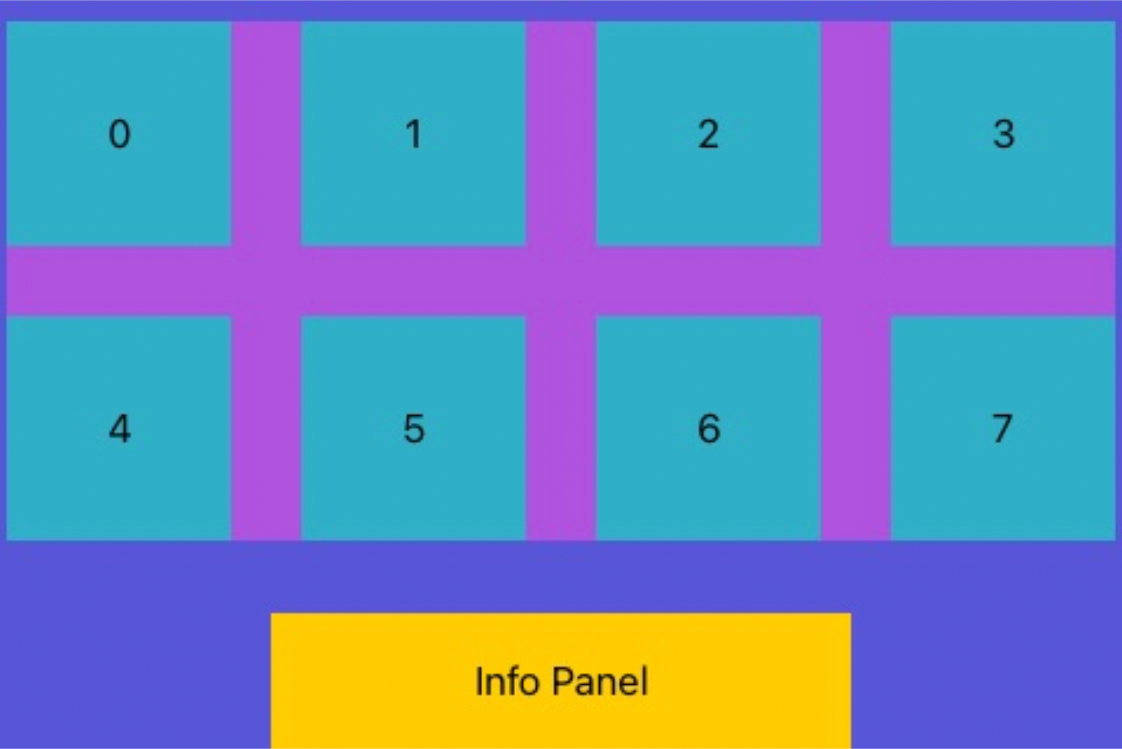 Note: On the Stream Deck Neo device, you can not set images to the two touch key areas directly. However, you can change the appearance of these by changing the background. | 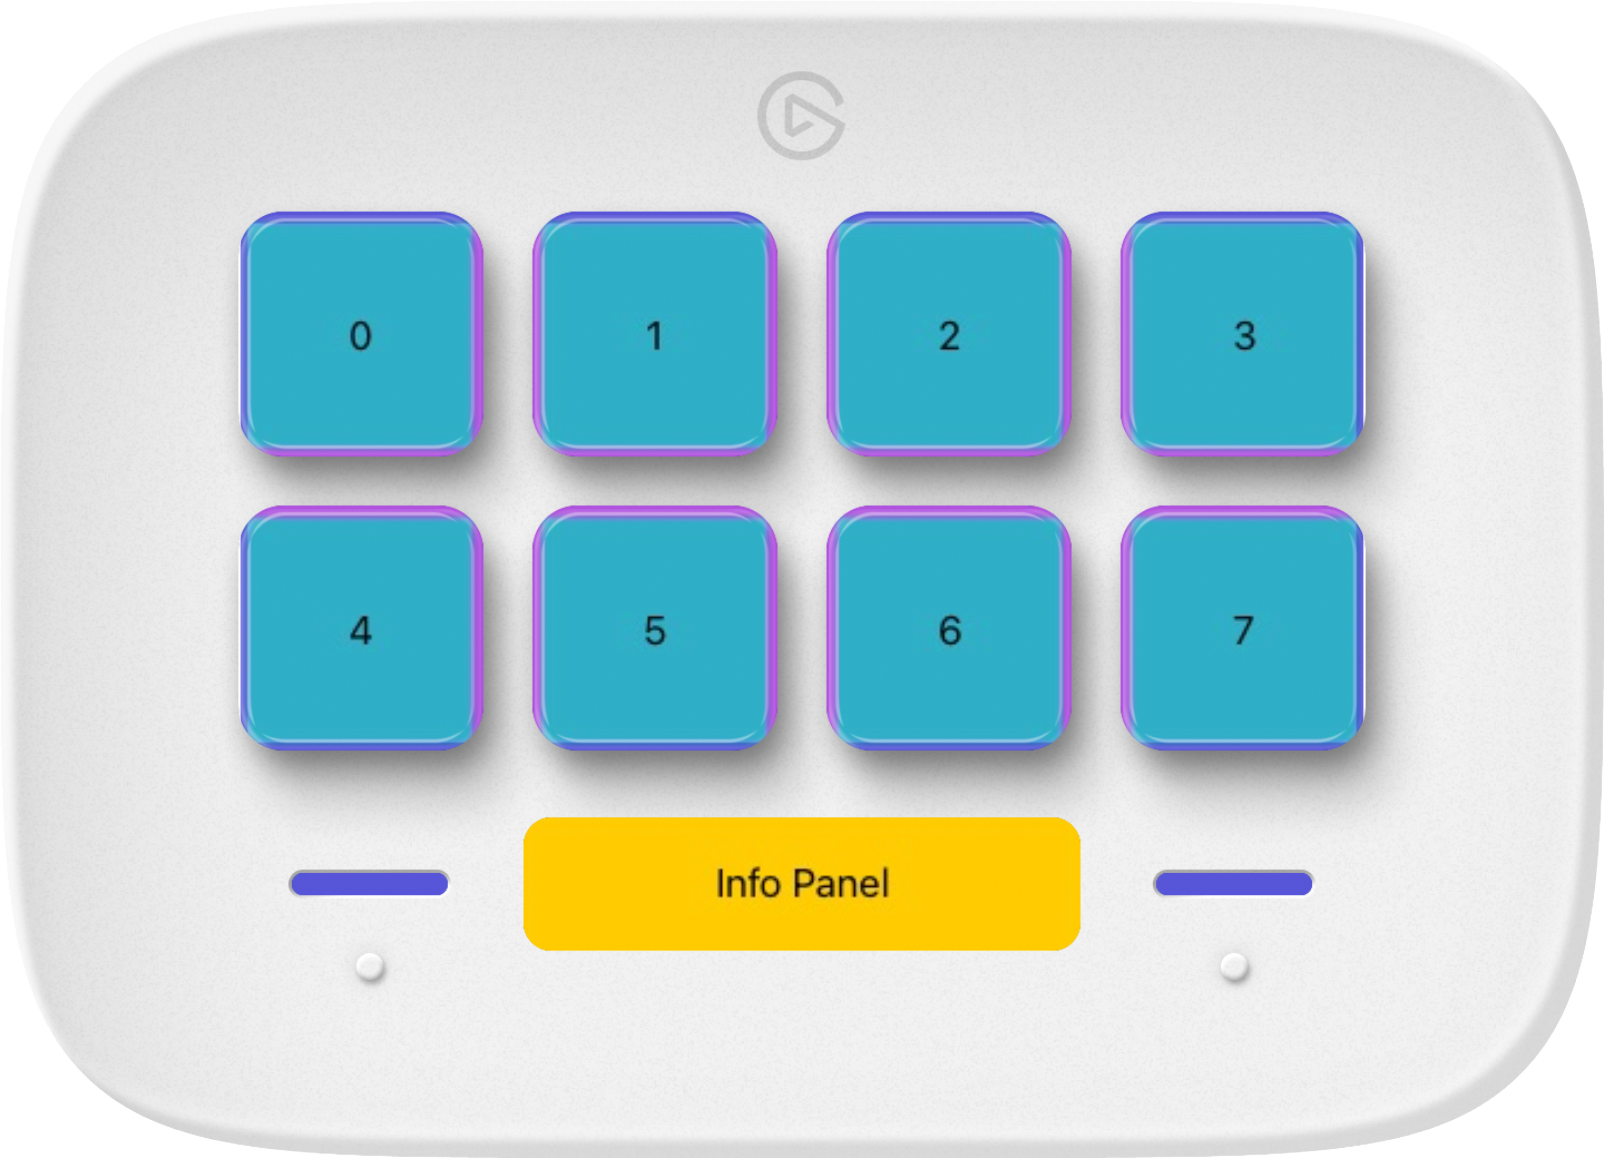 |
SwiftUI Preview
You can use the StreamDeckSimulator.PreviewView (see Simulator) to view your layouts in the SwiftUI Preview canvas.
import StreamDeckSimulator

#Preview("Stream Deck +") {
    StreamDeckSimulator.PreviewView(streamDeck: .plus) { device in
        device.render(StatelessStreamDeckLayout())
    }
}

#Preview("Stream Deck Classic") {
    StreamDeckSimulator.PreviewView(streamDeck: .regular) { device in
        device.render(StatelessStreamDeckLayout())
    }
}